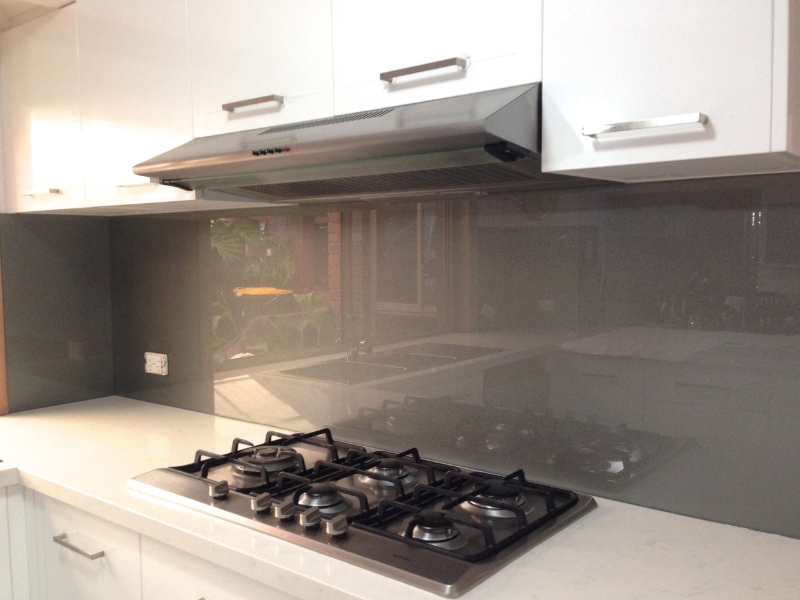
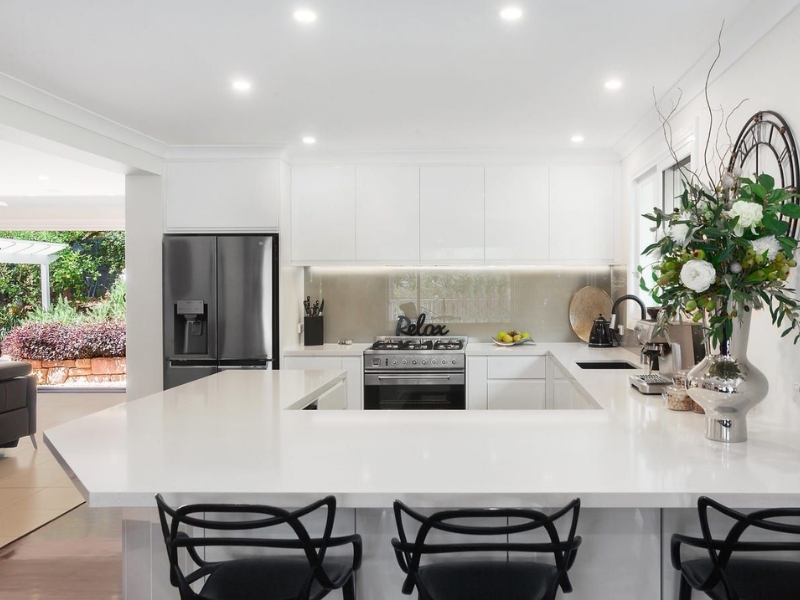
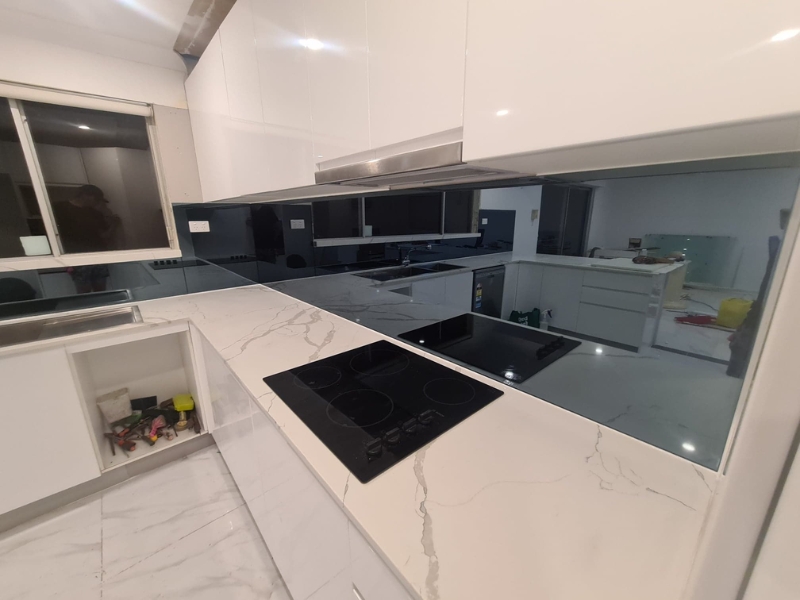
Glass splashbacks have become a go-to feature in modern kitchens, offering a blend of visual appeal and practical function. Whether you’re renovating or building fresh, deciding if this upgrade is worth it often depends on the quality of the installation. A poor fit or rushed job can turn a sleek finish into an expensive hassle. This article explores the key advantages, potential drawbacks, and essential planning steps to consider before installing a glass splashback.
Why do some glass splashback installations go wrong?
A poorly executed glass splashback install doesn’t just look average—it can be an ongoing hassle. Even with high-quality materials, the process requires attention to detail, a steady hand, and proper prep.
- Incorrect measurements often result in glass panels that don’t line up with cabinetry or appliances.
- Substandard materials may crack under temperature changes or everyday kitchen use.
- Uneven adhesive leaves visible gaps, weakens the bond, or causes future detachment.
- The lack of expansion allowances prevents the glass from adapting to temperature fluctuations, leading to stress fractures.
When you explore reliable solutions for installing a glass splashback, you’re investing in more than just glass—you’re protecting your home from a patchy job that can become an eyesore. Proper installation doesn’t just make the wall look clean—it keeps it that way over the years.
What problems can arise from poor splashback planning?
Slapping glass on a wall might sound easy, but without forethought, it’s just asking for trouble. Planning is the phase where most of the damage is done, long before anything is installed.
- Power points and plumbing fixtures often get in the way if they’re not mapped out beforehand.
- Colour mismatches happen when splashback tones clash with benchtops or cabinetry.
- Surface irregularities under the glass create bumps or trapped air bubbles.
- Ignored lighting considerations can create unwanted glare or dullness behind clear glass.
Issues like these can compromise both the look and performance of your splashback. If you understand the common causes of glass splashback cracking, you’ll be better equipped to avoid shortcuts and ensure everything aligns with your kitchen design, both literally and aesthetically.

Could poor preparation ruin your splashback installation results?
Absolutely. Even before the first panel goes up, a poor start can derail the entire process. Prepping the surface, the room, and the materials is what sets the stage for success—or disappointment.
- Dust, grease, and moisture all interfere with the adhesive’s grip on the wall.
- Unstable or bowed surfaces make it harder to create a flush, lasting bond.
- Poor primer use can lead to bubbling and lifting over time.
- Failure to dry-fit panels increases the chances of error during final installation.
The splashback isn’t just a visual accent—it protects your walls from daily kitchen mess. Considering the benefits of white frosted glass splashback in modern kitchens can show how preparation affects both style and functionality. Good prep means fewer surprises and a finish that holds up over time, even when the kitchen is working overtime.
How can installing a glass splashback improve your kitchen space?
Done right, a glass splashback can completely elevate your kitchen. Beyond its appearance, it plays a significant role in maintaining hygiene, tidiness, and ease of upkeep. Whether you’re going for high-gloss or matte, there are clear practical wins.
- Low maintenance: A quick wipe-down is usually all it takes to keep things looking schmick.
- Mould resistance: Unlike grout in tiles, glass has no gaps for moisture to hide.
- Heat-safe design: Toughened glass holds up well behind stoves and cooktops.
- Visual space: Light reflects off glass, making smaller kitchens feel more open.
These features are convenient for busy households. Meeting the safety standards for glass splashbacks in kitchens also helps ensure your materials are fit for purpose. It’s not just about looks—there’s plenty of function in that form.

Why does installing a glass splashback require experienced hands?
It might seem like a straightforward job, but glass installation isn’t something you want to do on the spur of the moment. Even small mistakes can snowball into expensive fixes.
- Professionals measure and cut with precision, avoiding common sizing errors.
- Installers understand glass handling, which reduces the chance of damage during transport or installation.
- They follow installation sequences that prevent adhesive issues or trapped bubbles.
- Trained eyes spot wall flaws before the glass goes up, helping dodge future dramas.
The stakes are too high for shortcuts. It’s like doing your tax returns with guesswork—better to get it right the first time. A splashback should be a one-and-done job that lasts years, not a revolving door of repairs and adjustments.
Here’s a comparison of key differences between DIY and professional splashback installs:
| Installation Factor | DIY Approach | Professional Approach |
| Measurement accuracy | Often inconsistent | Highly precise |
| Glass handling risks | Higher chance of breakage | Trained and experienced |
| Wall preparation | Sometimes overlooked | Always completed thoroughly |
| Finish and alignment | Frequently uneven | Clean and level |
| Long-term durability | Can lead to early failures | Lasts for many years |
When should you consider upgrading your splashback area?
Not every kitchen cries out for a new splashback—but some practically beg for it. Certain red flags indicate it’s time to take action, whether for aesthetic, hygiene, or practical reasons.
- Apparent damage, such as cracks or discolouration, is a clear sign.
- Outdated finishes can drag down your entire kitchen’s vibe.
- Visible grime or mildew in seams or behind the glass indicates a need for replacement.
- New renovations are the perfect time to install an updated splashback that matches your new layout.
Timing matters. Whether it’s part of a larger renovation or just a focused upgrade, ensure it’s a solution, not a stopgap. Kitchen surfaces take a fair amount of wear and tear, and it’s worth knowing when to start fresh.
What should you consider before installing a glass splashback?
Before you grab the tape measure and adhesive, pause and think through what you’re getting into. A splashback should last years, not just survive the next few months.
- Set a clear budget: Factor in not only materials but also cutting, delivery, and installation costs.
- Pick your colour wisely: Glass reflects light differently—what looks good on a swatch may not pop on a whole wall.
- Select the right glass type: Toughened, mirrored, or painted—all have distinct advantages.
- Think long-term: How will it withstand your cooking style, lighting, and cleaning habits?
These details might seem minor at first, but they make a big difference in the final outcome. A splashback is part of your daily backdrop—don’t choose it on a whim.
Final thoughts
A glass splashback is more than a glossy accent piece—it’s a workhorse that boosts your kitchen’s style and practicality. When installed well, it offers durability, safety, and easy upkeep. But without proper planning and skilled hands, even top-quality glass won’t save you from regret. If you’re thinking about making the switch, discover how Intrinsic Glass can assist with your splashback needs.

